BLOG
|
- Home
- Photography Courses
-
Photography Tours & Workshops
- South Africa >
-
Africa Workshops
>
- Uganda Private Wildlife Photography workshop
- Morocco - Meandering Morocco - 10 Nights
- Botswana - Photographing Giants - Botswana 5 night astrophotography workshop
- Lesotho - Expoloring The Mountain Kingdom - 6 night Landscape Workshop
- Namibia - Namibia's North - 13 Nights
- Namibia - Composing the Dunes - 14 Days
- Madagascar - Exploring the Island Continent - 15 Days
- Europe & the North >
- The 'Where To Next' Survey
- About Us
-
Gear Sales
- Leofoto
- Leofoto Flagship Tripods
- Leofoto Accessories
- Leofoto Mini Tripod & Smartphone
- Leofoto Monopods
- Leofoto Quick Release Plates
- Leofoto Ranger Tripods
- Leofoto Leveling Ranger Tripods
- Leofoto SOAR/PRS
- Leofoto Summit Tripods
- Leofoto Tripod Heads
- NiSi
- NiSi 100mm
- NiSi 150mm
- NiSi M75
- NiSi SWIFT Filter system
- NiSi Circular Filters
- NiSi Close Up Lens Kit NC 77mm
- NiSi Drone Filters
- F-Stop Questionnaire
- Blog
- NiSi SWIFT Filters
|
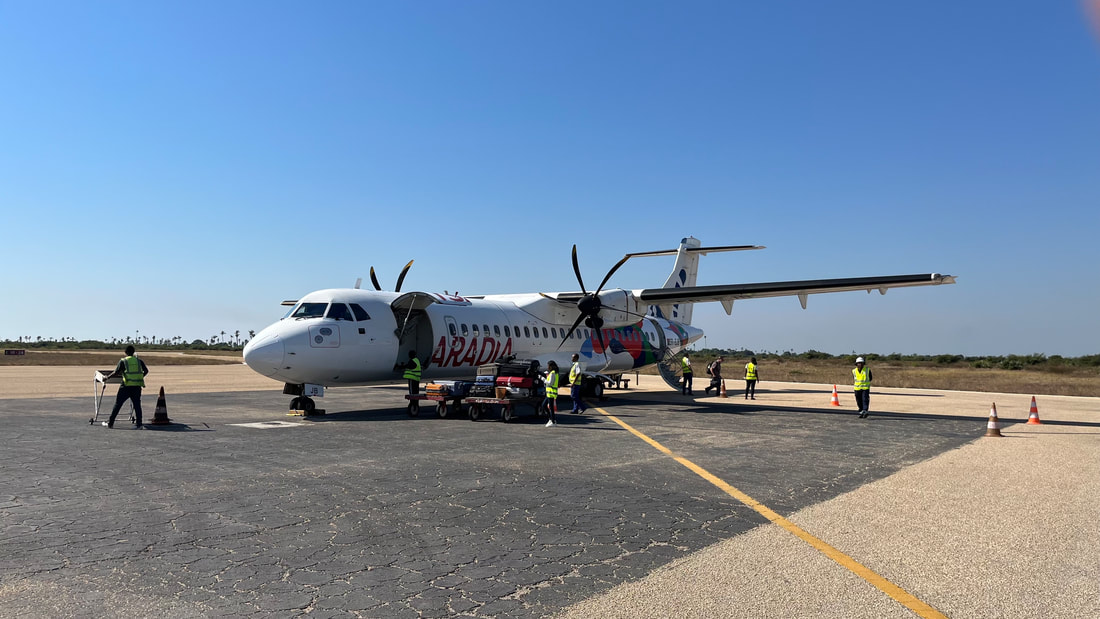
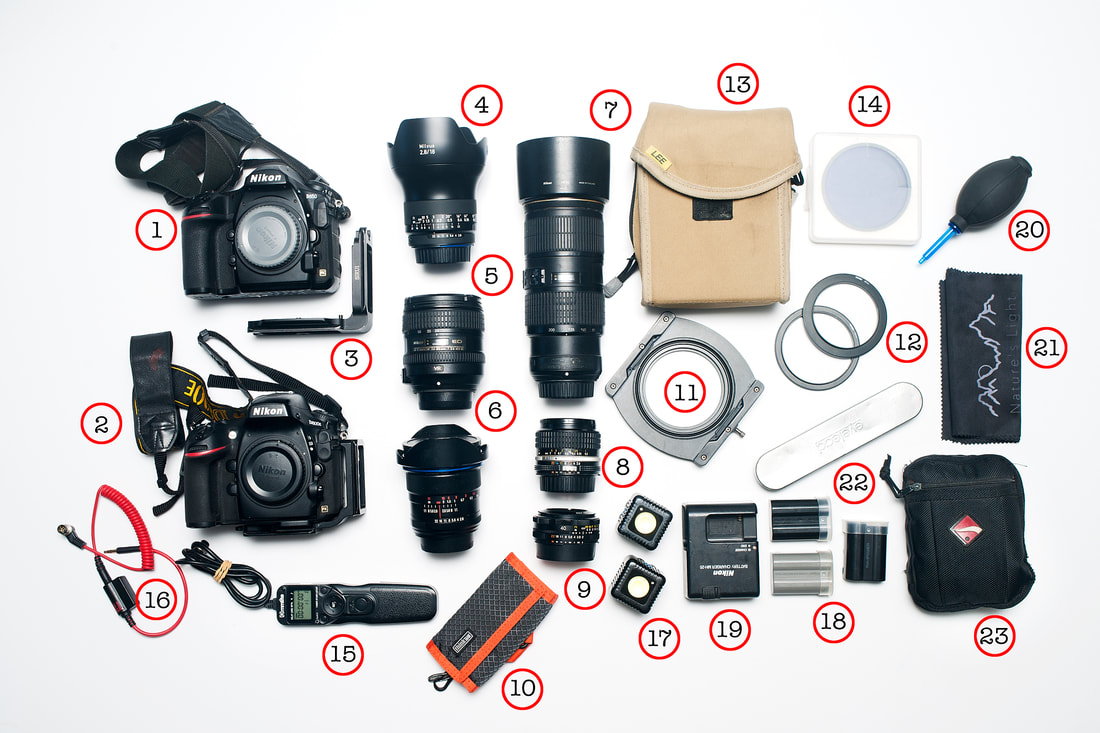
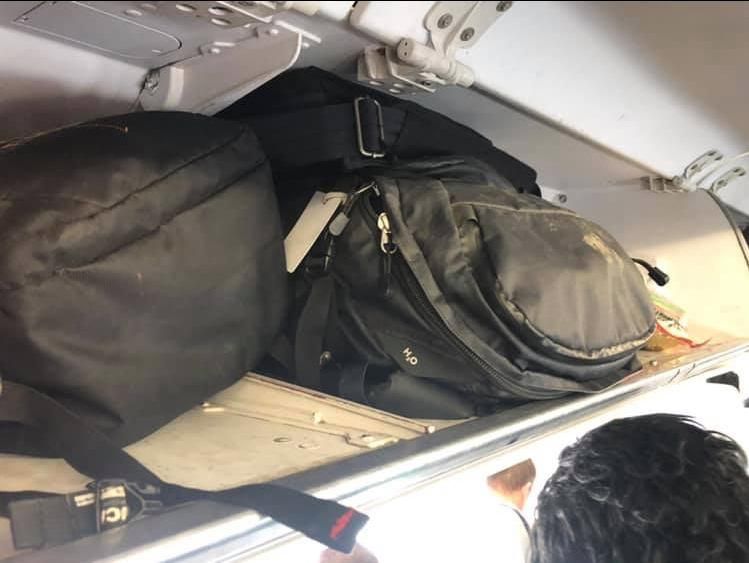
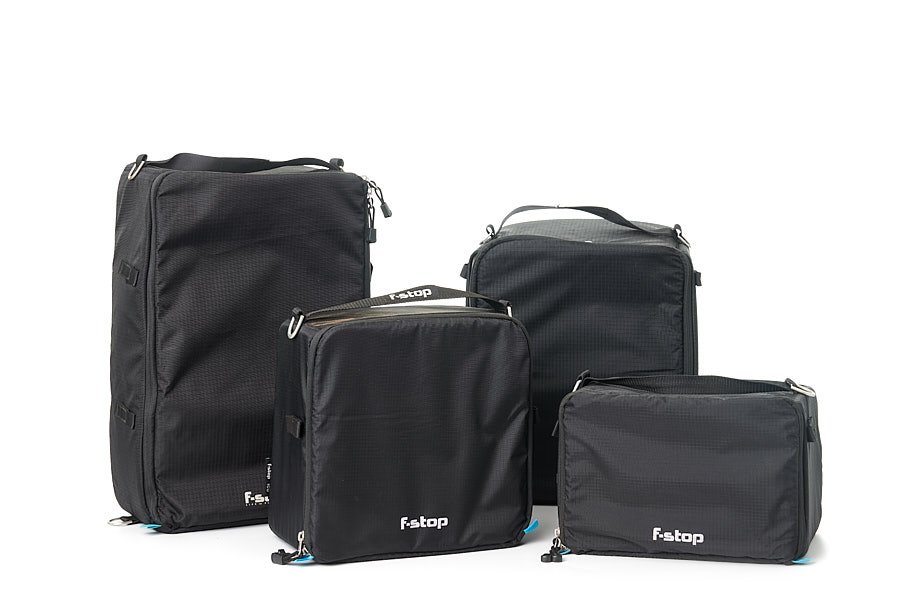
Traveling as a photographer is not without its pitfalls. Airlines are becoming increasingly strict about the weight and the nature of what its passengers can carry with them. It can make getting to your chosen destination an extremely stressful exercise. Below are some of the tips we have from many years of leading photographic workshops in various far-flung parts of the world. 1. Prioritize Essential Gear Begin by assessing your gear and determining what is absolutely essential for your trip. Opt for versatile equipment that serves multiple purposes if at all possible. Don’t bring your massive telephoto lens if you are unlikely to use it. If you know you are not going to be photographing night skies, then you probably won’t need your night star and night filters, or that astronomically heavy f1.8 super wide angle lens. Same goes for wildlife. Don’t drag your 400mm f2.8 lens if you are not going to be shooting wildlife. That said, if you have considered what you do want to photograph and it does need those exotic lenses, there are ways and means to be able to get it onto the plane with which we’ll discuss below. 2. Invest in Lightweight Equipment In the realm of cameras, lenses, and accessories, opt for lightweight alternatives without compromising quality. Usually the argument is that Mirrorless cameras, are considerably lighter than DSLRs, so enticing you to make that plunge and shift from your trusty DSLR. However the real weight is in the lenses. A Z8 weighs as much as much as a D850 and an R5 is only marginally lighter than a 5DmkIV. The weight is in those f2.8 zoom lenses. As an example a 70-200mm f4 is literally a full kilogram lighter than it’s f2.8 brethren. A 70-300mm f4-5.6 is even lighter than the 70-200mm f4. Choose your lenses carefully as opposed to your camera if you are trying to shed pounds. Ask yourself if f2.8 is really necessary for you are traveling. I own both a f2.8 and f4 version of the classic 70-200mm lens. Whenever I fly it is the f4 lens that ends up in my bag unless I specifically need the f2.8 (which I have carefully considered in #1 above). If weight is really one of your most serious concerns, consider the smaller APS-C cameras. An APS Fujifilm kit with 2 bodies and a set of lenses from 12mm through to 400mm fits into a small bag that falls well within airline regulations (so none of the tricks mentioned above are even necessary). The same can not be said of any Full Frame offering on the market (if you are taking a full kit). Similarly, explore carbon-fiber tripods that provide stability without adding significant weight. There are a huge range of brilliant lightweight tripods out there now. They may be more expensive than the old metal Manfrotto 190 that everyone still seems to have lurking around, but they are a fraction of the weight, so your back will be thanking you and packing will be somewhat easier. 3. Maximize Your Carry-On Allowance Learn to get the most out of what you are allowed to carry on with you. I was once on a flight back to Durban and sat next to a cameraman from MNET’s SuperSport. His single camera was literally 3kg over the onboard weight allowance (he had one of the large broadcast cameras). His solution was to carry the camera ‘naked’ without the bag. Inside the bag though, he had all his cables, shotgun mic and other paraphernalia required for broadcast shooting. The downside to this arrangement was that if the flight is full, as it was in this case, he had to fly with the camera in his lap the whole way (thankfully only a 50minute flight for this particular journey). Although the standard advice is that camera bodies, lenses, and delicate accessories should be safely packed in a padded camera bag that fits within the airline's carry-on size limits, this isn’t always possible. My solution to this, after prioritising gear obviously, is to travel with a lightweight photographers vest. If you happen to be overweight, grab heavy items and start distributing them into the pockets of your vest. Small heavy items like batteries take up a surprising amount of your weight allowance. In the past you would have checked them into the hold. That’s no longer allowed of course, so by putting them in pockets you still get around the weight allowance of your overhead baggage. Similarly, as per the sports photographer mentioned above, grab your camera out of the bag and put a heavy lens on it. Sling that over your shoulder and once more your bag sheds kilograms. 4. Distribute Weight Strategically Balancing the weight of your equipment between carry-on and checked luggage goes without saying. As mentioned above though, you can’t always put some of the heavy items like batteries in your checked baggage anymore. That said, you can usually stow your tripod at least. Mine gets packed into my large Osprey Travel 90 rolling bag. All my clothing - packed in cells - goes around the tripod, protecting it from bumps and the inevitable manhandling that it’ll go through on its way to and from the plane. Think carefully about the process of embarking and deplaning though. I have started keeping all my batteries as well as the drone controller in a small padded bag (an F-Stop Medium Accessory Pouch) at the top of the my F-Stop Tilopa rucksack. The reason for this is that some of the planes I find myself on are so small that the backpack has to be ‘sky-checked’ (it goes in the hold, but you are the one who hands it over at the plane, and receive it on the tarmac when you land). However, aviation regulations still require that you carry the batteries with you. It’s very simple to quickly yank the small bag of batteries out of the backpack and hand over the larger bag fro stowing (I usually keep my camera with me as well). Talking of distributing weight strategically… if you find you are overweight regardless of how carefully you pack (some international flights like those from South Africa to Madagascar have an allowance of only 20kg, so it’s easy to go over), carry the tripod in your hand. If you are reading this blog chances are you a are keen photographer so your tripod is probably 2kg or heavier. Carrying it in your hand means it won’t be weighed (again, like the sports photographer mentioned above). 5. What You Use to Carry Gear Makes a Difference - Aim for Versatility I know a lot of photographers love and swear by airport roller bags. However, they are heavy! You end up using half your weight allocation on the bag itself before you have even packed your gear into it. Yes, wheels are great, but not so much once you are on location and then have to tote that bag over rough tracks to whatever viewpoint you are shooting from (hint, wheels are useless in the Namib Desert or Iceland’s Diamond Beach). I personally recommend choosing a system backpack like that from F-Stop (Lowepro and MindShift Gear make similar system bags). A system bag is a backpack shell into which you slide internal padded cells or units (F-Stop calls them ICUs - Internal Camera Units). These backpack shells tend to be lighter than standard camera backpacks and are usually significantly more comfortable to carry heavy loads of gear for long periods of time. A huge advantage of system bags is that you can carry the internal compartment separately. In a pinch you can check the shell, and carry only the internal unit with a strap. Or, if you are insistent on a roller bag, get a cheap small roller bag and put your internal cell or ICU in there and check the rucksack shell. On one occasion traveling back to South Africa I was stopped on boarding and asked to check the camera bag. The flight was packed and they had run out of overhead luggage space. I was able to slide my ICU out and carry that in (looks a lot smaller and actually managed to fit under the seat in front of me) and the shell went into the cargo hold. Versatility is the key word here. A dedicated camera roller bag, as great as they are, is not versatile. 6. Pre-plan Backup Options
Plan for unforeseen circumstances….as well as assuming cock-ups happen. As an example, I was traveling to Iceland earlier this year and realised that the changeover in Heathrow was such a tight time frame (I literally had to sprint between gates) that the chances were fairly high my bag wouldn’t be following me. I made sure that I had all the essentials to start the workshop in Iceland on me. This included my tripod, changes of underwear, a fresh shirt and socks and all the warm clothing and rain gear I would undoubtedly need. It was with a grim sense of success that I watched my AirTag display my bag sitting in the belly of Heathrow as we taxied out for takeoff (It arrived in Iceland the next day and I was reunited with it the day after that). Things happen. I also always carry two camera bodies on international trips. On the same Iceland trip, one of the photographers step backwards into an Iceberg and took a tumble into the cold water of the North Atlantic. Her camera drowned, but no injuries other than wounded pride. Still, she was now without a camera. I lent her mine and used my spare, but if I were traveling alone and the same had happened to me, I would now be without a camera. So carry a spare. Similarly with lenses; although superzoom that do just about everything exist (think traveling light by bringing the 28-300mm lens), they are a terrible idea for travel photography. If something happens to your solitary travel lens, that’s it, game over, no more photography. Rather think about shorter zoom lengths in smaller apertures. A 24-85mm f3.5-4.5 along with the 70-300mm f4-6.3 is about the same weight as the 28-300mm, but allows photography to continue even if you break or lose one. Yes you are limited to that focal range, but you are still shooting. Consider also carrying smaller, lighter backups for essential gear, such as a compact point-and-shoot camera or a smartphone with a good camera. When all else fails this can be a lifesaver in case of unexpected weight constraints or gear malfunction. 7. Stay Informed About Airline Policies (and drones) Always check and stay updated on the specific weight restrictions and policies of the airline you’re flying with. This is particularly the case if you are traveling with a drone. A lot of airlines insist that the drone goes into the hold, but that the controller stays with you. So make sure your drone is packed careful and snuggly and protected as much as possible in your checked bag so that it survives the hell of baggage services. Something else I have learned the hard way. Always inform the airline at checkin that you have a drone. Security pick up the drone when it goes through the x-ray machines. Unless they see a note from the airline checkin desk that it should be there, they flag it. I spent a while charging around the basement area of an airport once tracking down where the bag was and being harangued at the same time for not doing this. I almost missed the flight as a result of this. If the airline allows drones it isn’t an issue that you are traveling with it, but you do need to tell them (and usually sign a waver that it is not their fault if your drone is destroyed in transit). Conclusion Traveling with camera kit can be stressful. If you plan carefully though, it doesn’t have to become this obstacle to overcome whenever you travel. I’ve traveled enough now that I have a system that seems to work quite well in getting my kit from point A to point B. It’s not without it’s shortcomings and I am continuously tweaking and refining it as I learn lessons and as airlines continue to make changes to their baggage policy. However I approach the checkin desk with less stress now, knowing that there are ways and means that I can get my kit onboard safely.
0 Comments
Leave a Reply. |
Nature's Light
|
Services |
Company |
|
- Home
- Photography Courses
-
Photography Tours & Workshops
- South Africa >
-
Africa Workshops
>
- Uganda Private Wildlife Photography workshop
- Morocco - Meandering Morocco - 10 Nights
- Botswana - Photographing Giants - Botswana 5 night astrophotography workshop
- Lesotho - Expoloring The Mountain Kingdom - 6 night Landscape Workshop
- Namibia - Namibia's North - 13 Nights
- Namibia - Composing the Dunes - 14 Days
- Madagascar - Exploring the Island Continent - 15 Days
- Europe & the North >
- The 'Where To Next' Survey
- About Us
-
Gear Sales
- Leofoto
- Leofoto Flagship Tripods
- Leofoto Accessories
- Leofoto Mini Tripod & Smartphone
- Leofoto Monopods
- Leofoto Quick Release Plates
- Leofoto Ranger Tripods
- Leofoto Leveling Ranger Tripods
- Leofoto SOAR/PRS
- Leofoto Summit Tripods
- Leofoto Tripod Heads
- NiSi
- NiSi 100mm
- NiSi 150mm
- NiSi M75
- NiSi SWIFT Filter system
- NiSi Circular Filters
- NiSi Close Up Lens Kit NC 77mm
- NiSi Drone Filters
- F-Stop Questionnaire
- Blog
- NiSi SWIFT Filters

 RSS Feed
